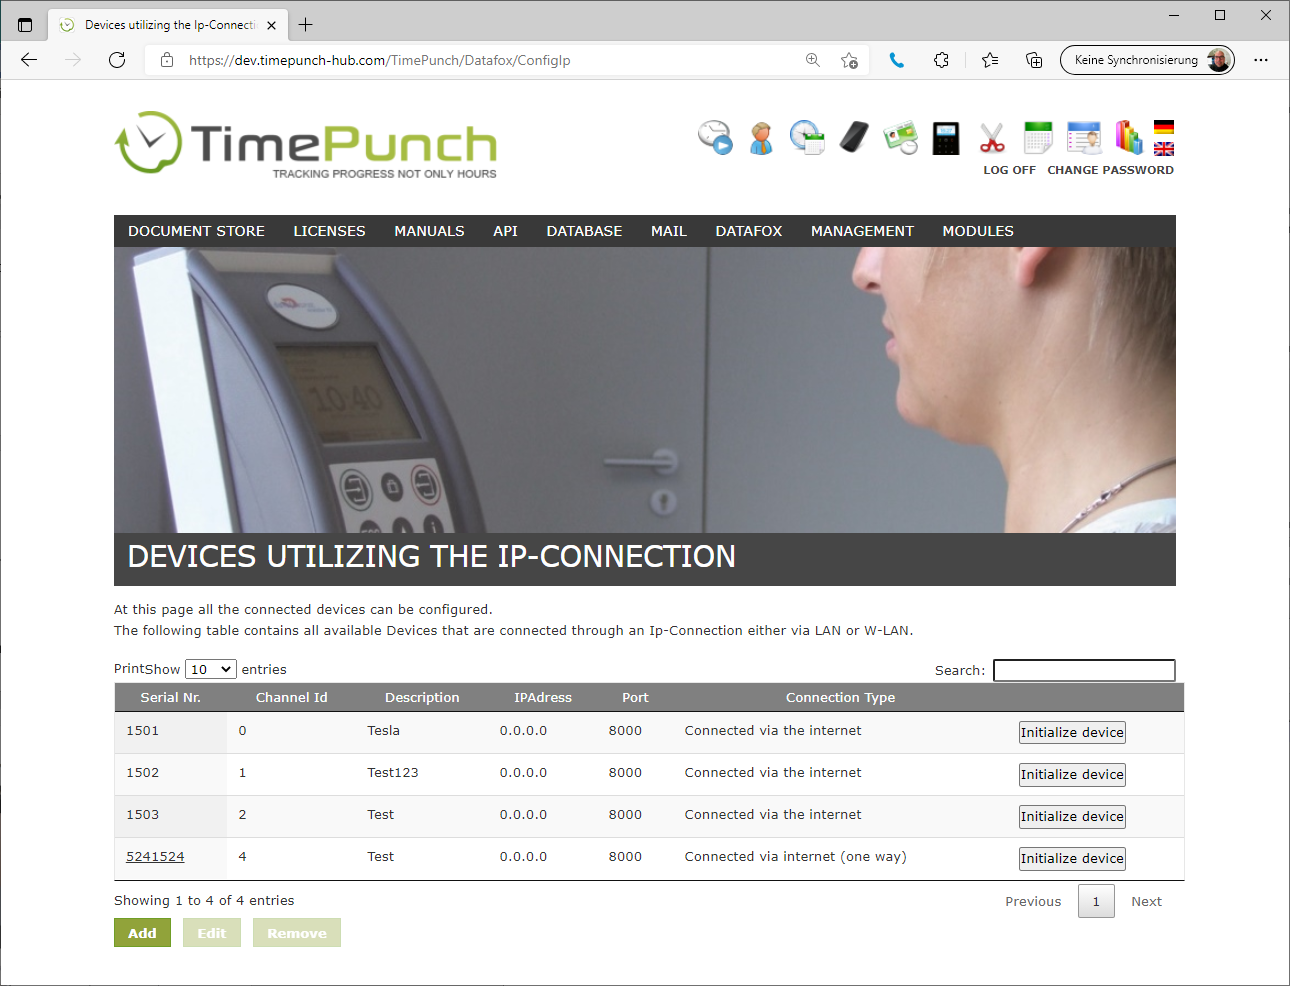
Einbinden des Datafox Zeiterfassungsgeräts ins Netzwerk
- PZE Master IV
- PZE Evo
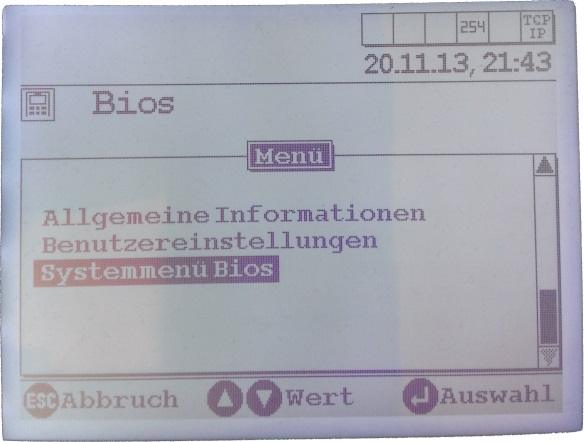
When opening the system menu bios, the bios password is required. By using the arrow down and up, the digit can be changed. Moving to the next digit can be done with the Logoff and Logon Button. To accept the password press “return” at the device. The Bios Password will be send with the delivery of the device.
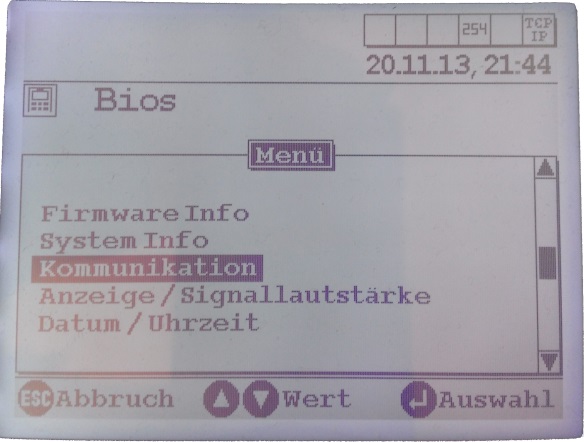
Then open the system menu bios and switch to communication. You will be asked to disconnect the communication. This must be accepted.
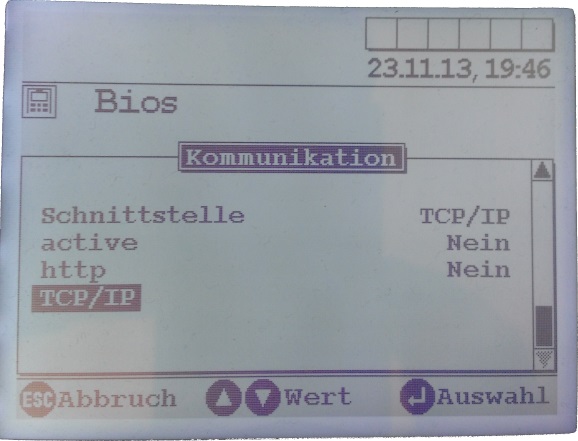
Now choose the interface TCP/IP and then open the menu „TCP/IP“.
At this point the static IP address of the device can be set. If the IP address shall be set dynamically via the DHCP Server, one must set the IP address to “0.0.0.0”. The concrete assigned IP address must be looked up at the DHCP Server.
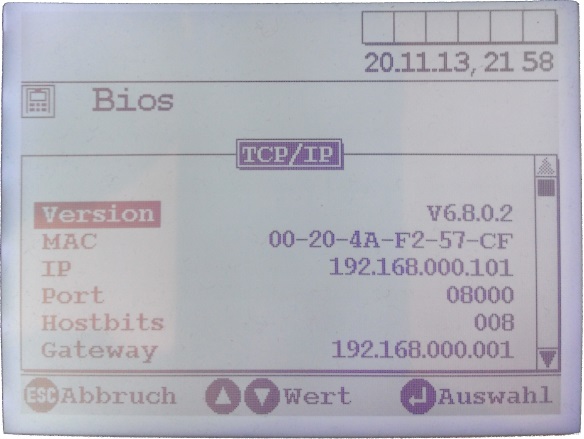
After that, exit all dialogs with ESC and re-start the PZE Master.
Pressing the TimePunch logo for 5 seconds will open the device bios.
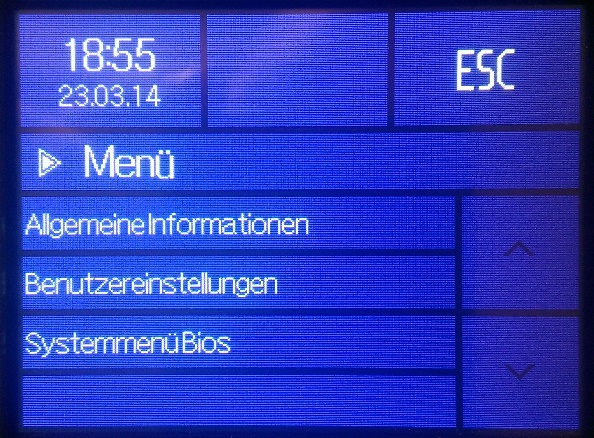
When opening the system menu bios, the bios password is required. The four digits must be entered and accepted with return. The Bios Password will be send with the delivery of the device.
Then open the system menu bios and switch to communication. You will be asked to disconnect the communication. This must be accepted.
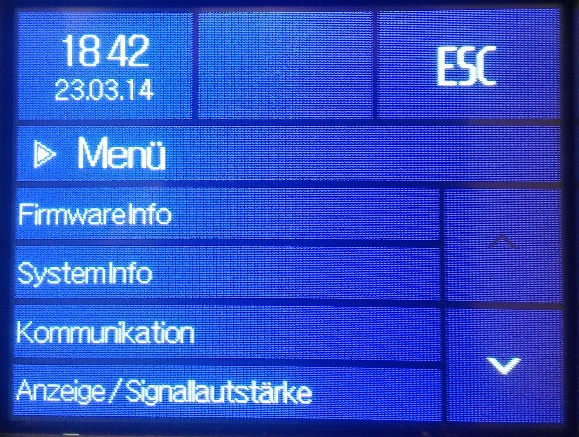
Now choose the interface LAN or WLAN and then open the menu „lanparameters“.
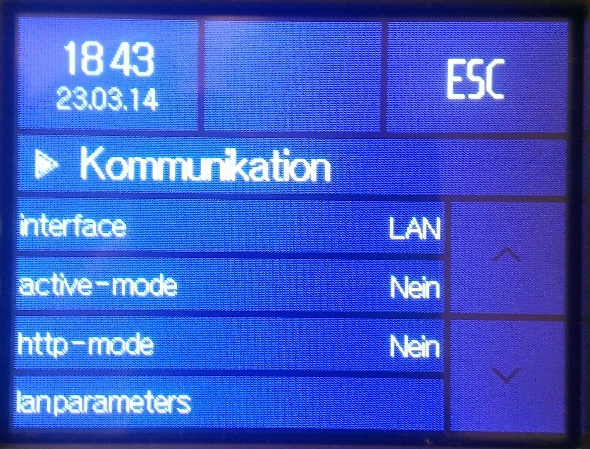
At this point the static IP address of the device can be set. If the IP address shall be set dynamically via the DHCP Server, one must set the IP address to “0.0.0.0”. The concrete assigned IP address must be looked up at the DHCP Server.
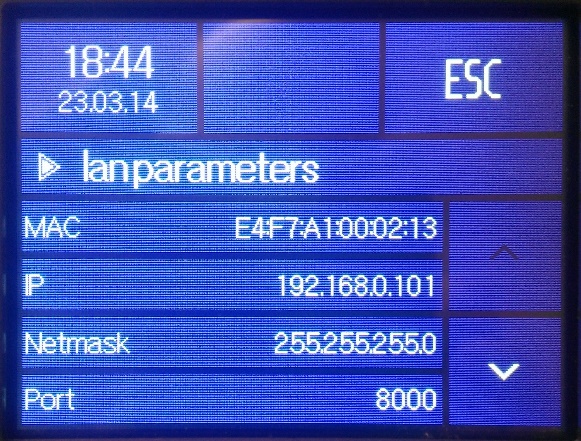
After that, exit all dialogs with ESC and re-start the PZE
Alternative Konfiguration über das Web-Interface
Die Zeiterfassungsgeräte können nicht nur im Windows Client, sondern auch direkt im Web-Interface angelegt werden. Dies geschieht über den Menüpunkt „Datafox / Konfiguration“ im Application Server.
